A Portable Network Graphics (PNG) is a raster image file format commonly used online. It’s widely popular, primarily because of its lossless data compression property and as an improved alternative to GIF files. On the other hand, Scalable Vector Graphics (SVG) is an XML-based vector graphics file format built from a network of dots, graphs, lines, and shapes.
Even while PNGs are an excellent option for graphics and are frequently used online, there are sometimes cases in which you might wish to use an SVG instead. One of the common reasons for converting a PNG image to SVG is that when you scale a PNG too much, it becomes pixelated and grainy, reducing its quality. SVGs, on the other hand, can be scaled to any resolution and still maintain their original quality.
Another common reason is that PNG files often have a larger file size than SVGs. This makes the latter more desirable, particularly when it comes to the internet, where big image files can significantly speed up a web page’s load time.
In this article, we’ll explore the different methods by which you can convert a PNG file to SVG. We’ll also explore how to achieve this programmatically using Cloudinary’s Node.js SDK. Let’s dive in!
- Methods of Converting PNG to SVG
- Command Line Tools and Software Libraries
- Converting PNG to SVG with Cloudinary
Methods of Converting PNG to SVG
You can choose from various options depending on your use cases if you’re looking to convert PNG files to SVG. These options vary depending on factors such as the number of files you want to convert, ease of use, and quality of the converted files. Here are a few of them.
Figma
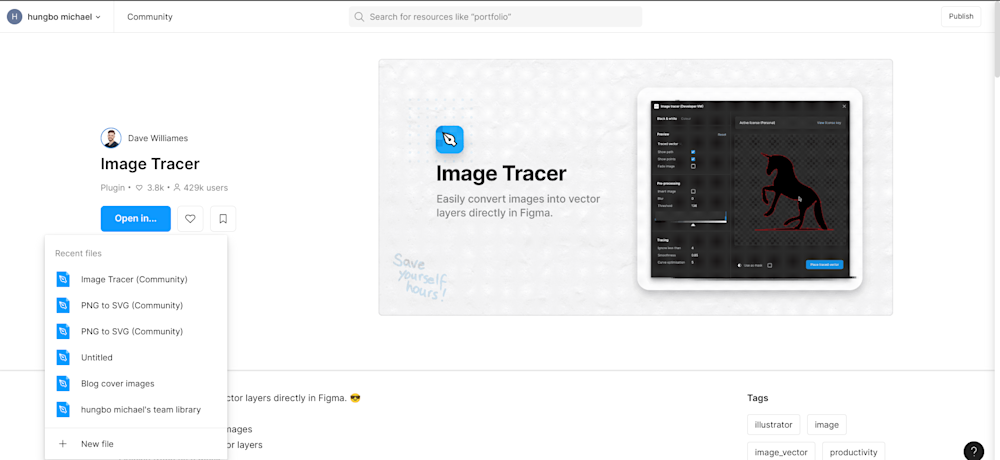
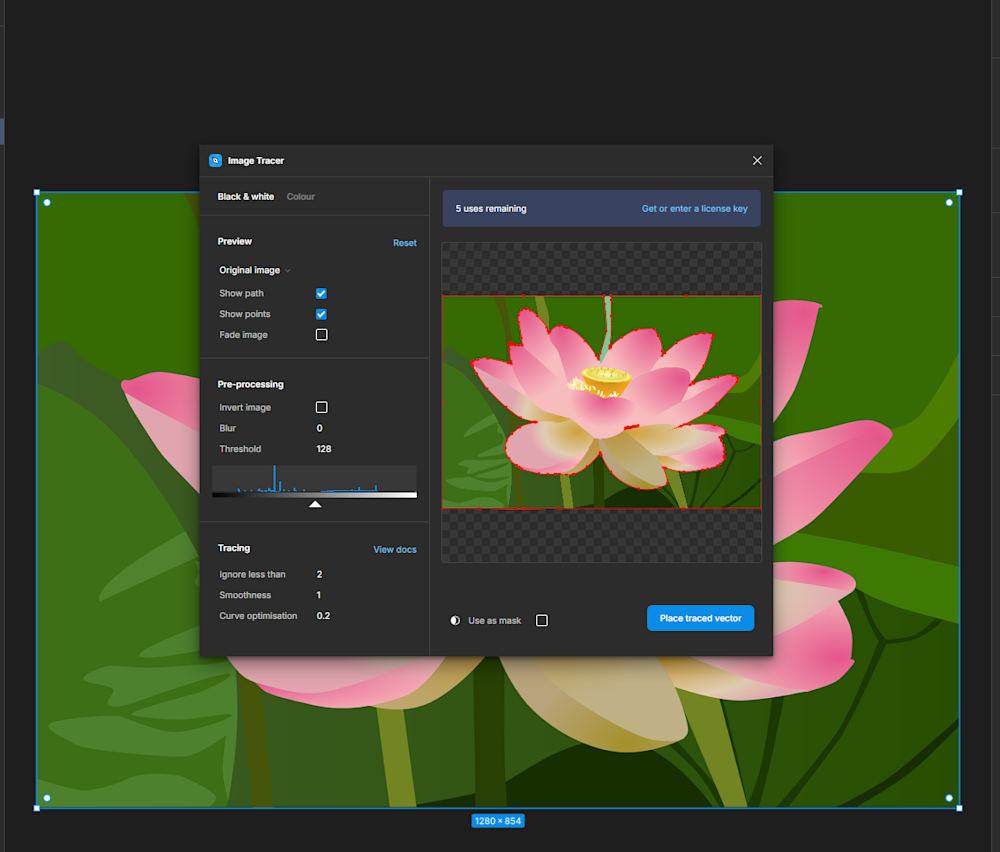
Figma is a collaborative design and prototyping tool used in user interface and user experience design. Although Figma doesn’t have a built-in feature for raster to vector conversion, we can use a community called Image Tracer to convert PNG files to SVG.
To convert your PNG file to SVG, open the link to the plugin and click on Open in as shown below:
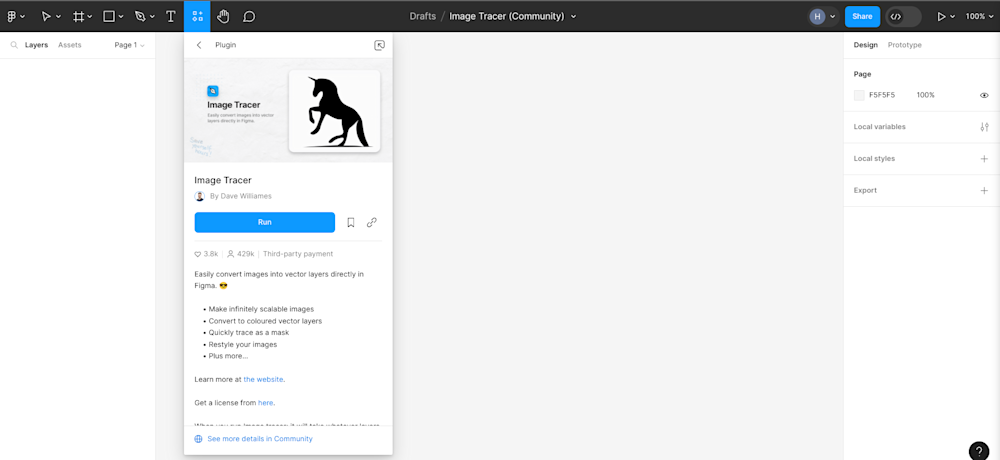
Next, you’ll see a prompt asking to run the plugin. Click on Run:
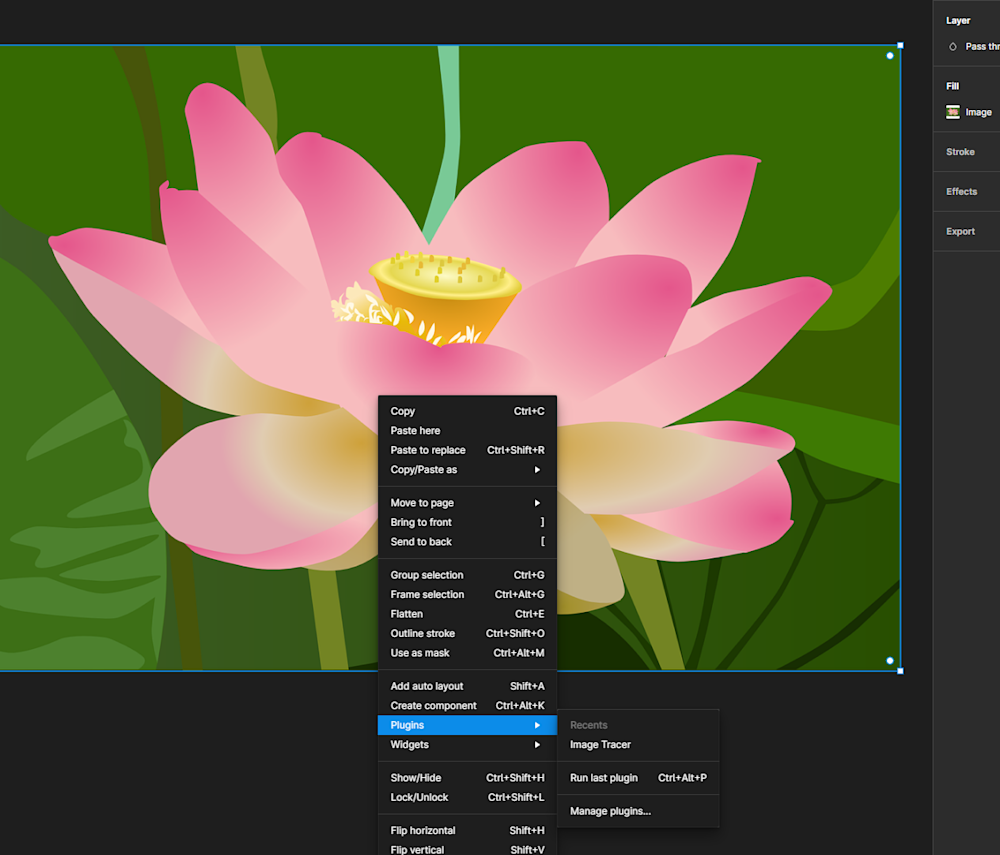
Before you use the plugin, you’ll need to upload the PNG image you want to convert to SVG. Once you’ve uploaded the image, right click on it and select Plugins > Image Tracer, as shown below:
Next, you can now configure how you want the SVG to be rendered by adjusting the conversion parameters to your liking:
Once you’re done configuring the settings, click on Place Trace Vector. The generated SVG image will be layered on top of your PNG image, so you’ll need to use your mouse to move the images to see the SVG. Finally, you can now export the SVG image directly to your computer.
Vectorizer
Vectorizer.AI uses advanced AI technology to convert raster images to SVG. It has a user-friendly user interface that makes converting PNG images to SVG simple and easy to use. If you’re looking for a PNG to SVG conversion tool that uses modern vectorization techniques and requires no input, Vectorizer might be a good option.
Converting your files in Vectorizer is a 3-step process.
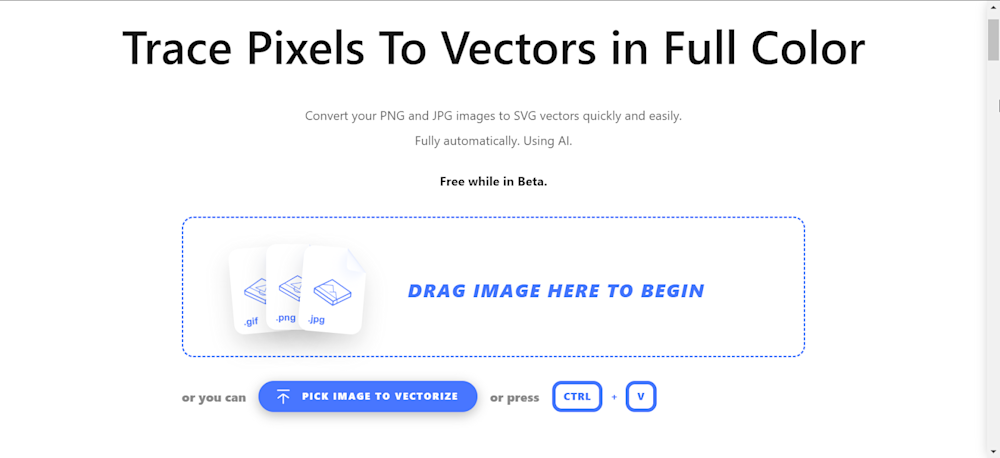
First, simply upload or drag and drop a file in the upload box as shown below:
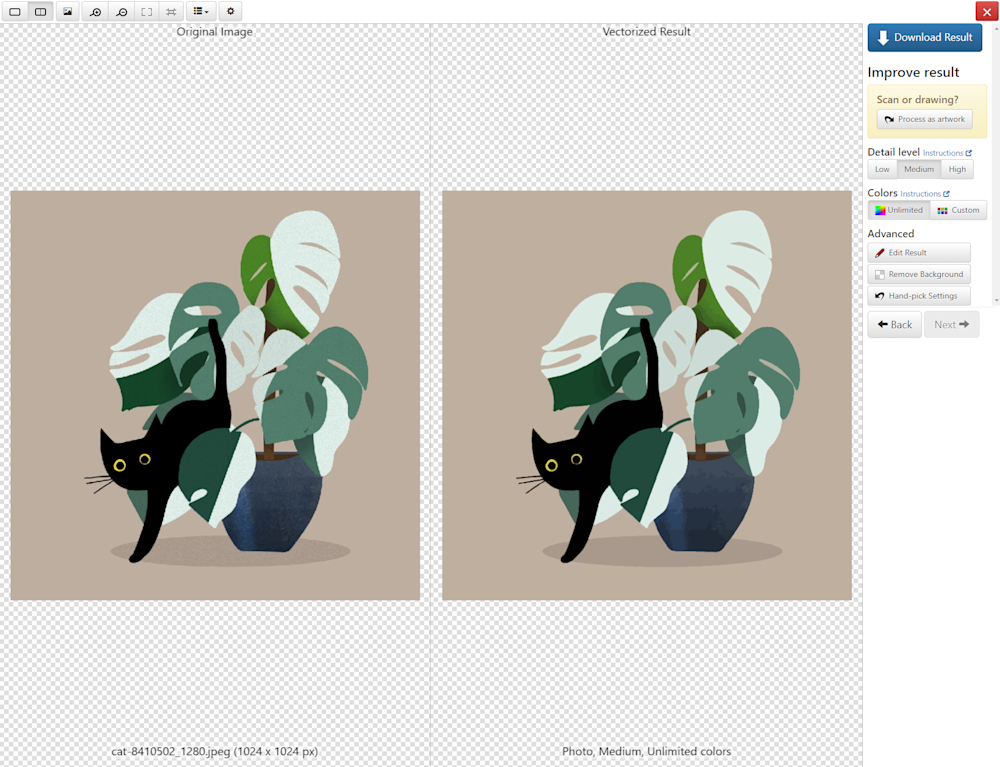
After uploading, Vectorizer will process your file and show the converted result next to it. Click the Download button as shown in the image below:
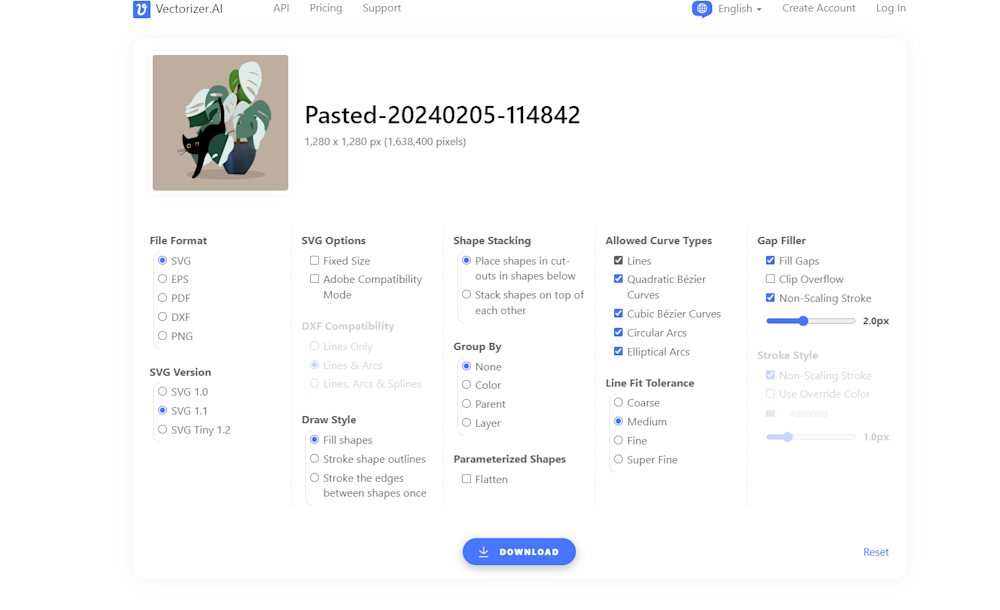
Now, Vectorizer will show a customization page allowing you to tweak the converted file to your taste. When you’re satisfied with the result, scroll down and find a button to download the final result.
Vector Magic
Vector Magic allows you to convert files from different formats, such as PNG, GIF, and JPEG, to vector files, such as SVG, PDF, and EPS. It has an online conversion tool and a desktop version that you can install on your computer to convert PNG files to SVG. Compared to other conversion tools, Vector Magic uses a tracing algorithm that produces vector images identical to the original bitmap image.
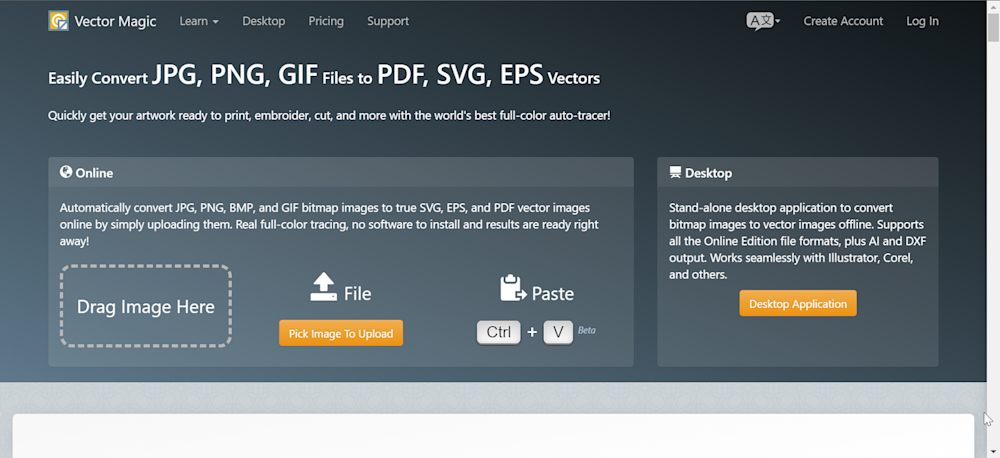
To convert a PNG file to SVG using Vector Magic, simply upload the file in the upload box as shown below:
Next, after Vector Magic is done making the conversion, you’ll be taken to a customization and download page where you can edit and tweak the generated SVG file to your liking.
Command Line Tools and Software Libraries
If you’re looking for other options to tailor the conversion process to your needs, you should consider using command line tools or libraries. One of the advantages of using command line tools for PNG to SVG conversion is that they allow you to process multiple files using custom scripts.
To convert your PNG files to SVG, you can try a few options.
ImageMagick
ImageMagick is a popular and powerful open-source command-line tool for converting images from one format to another. It can be used to create, edit, compose, or convert bitmap images and supports a wide range of file formats, including JPEG, PNG, GIF, TIFF, and PDF.
To convert PNG files to SVG using ImageMagick, you can use the convert command like so:
GraphicsMagick
GraphicsMagick is a fork of ImageMagick that includes additional features for converting digital images from one format to another. Its notable features include GUIs, a programming API, 2d vector rendering, etc., that make image processing and conversion from one format to another a breeze.
Converting a PNG file to SVG with GraphicsMagick can be done using the following command:
gm convert input.png output.svg
Potrace
Potrace is a specialized tool designed for converting bitmap images into vector graphics. It operates through the command line and requires the input image to be in bitmap format, such as Portable Bitmap (PBM).
To convert PNG files to SVG using Potrace, you first convert the PNG to a bitmap format (like PBM) using another tool such as ImageMagick or GraphicsMagick.
Converting PNG to SVG with Cloudinary
Cloudinary is a cloud-based media management platform that offers an API-driven approach to image and video manipulation. Cloudinary provides extensive capabilities for resizing, transforming, enhancing, and converting images from one format to another.
In the coming sections, we’ll walk you through using Cloudinary’s Programmable Media to convert PNG files to SVG.
Setting Up the Node.js Application
In this tutorial, we’ll show you how to use Cloudinary’s Node.js SDK to convert PNG files to SVG in a Node.js application. This tutorial will show you how to use Cloudinary’s image transformation API to convert images from one format to another.
Before you proceed, we assume you are familiar with JavaScript and Node.js. You can also check out the available Cloudinary SDKs if you’d like to learn how to achieve the same thing in another language.
Additionally, you’ll need to sign up for a Cloudinary account to access their API and cloud server for your images. You can sign up for free and follow this tutorial. This free account will be more than enough to see what Cloudinary can do.
Initialize a Node Project
To get started, create a new folder on your computer where you’d like to have this project. Next, run the following command in that directory to initialize a Node.js project:
npm init
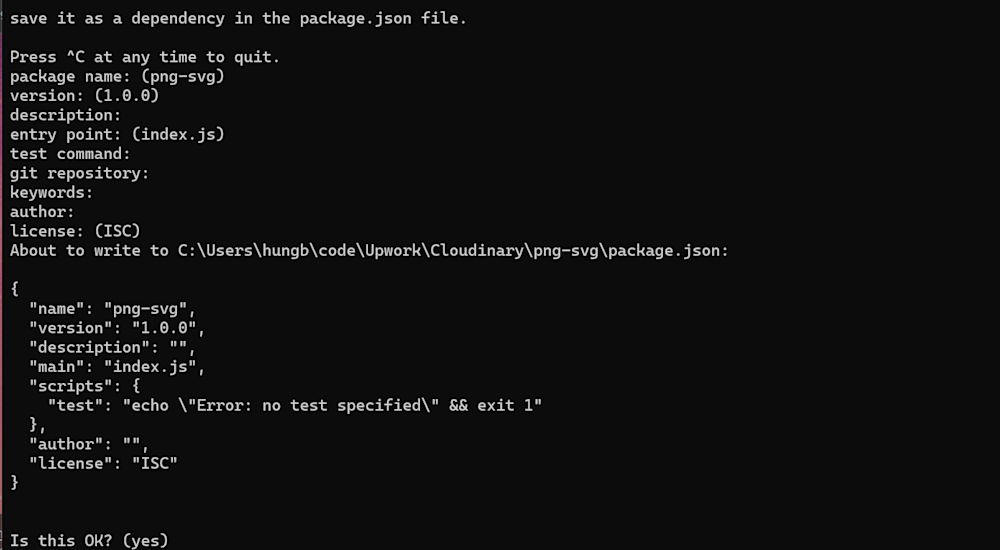
After running the above command, you’ll be taken through a few prompts to configure the app. Answer the prompts correctly, and set index.js as the application’s entry point.
Next, run the following command to install the necessary packages to run the application:
npm install express multer cloudinary
Below is a description of each of the packages that we’re installing:
- Express – A popular and minimalist Node.js web framework for building servers and RESTful APIs.
- Multer – A Node.js middleware for handling multipart/form-data.
- Cloudinary – A library of functions and utilities for interacting with the Cloudinary Platform.
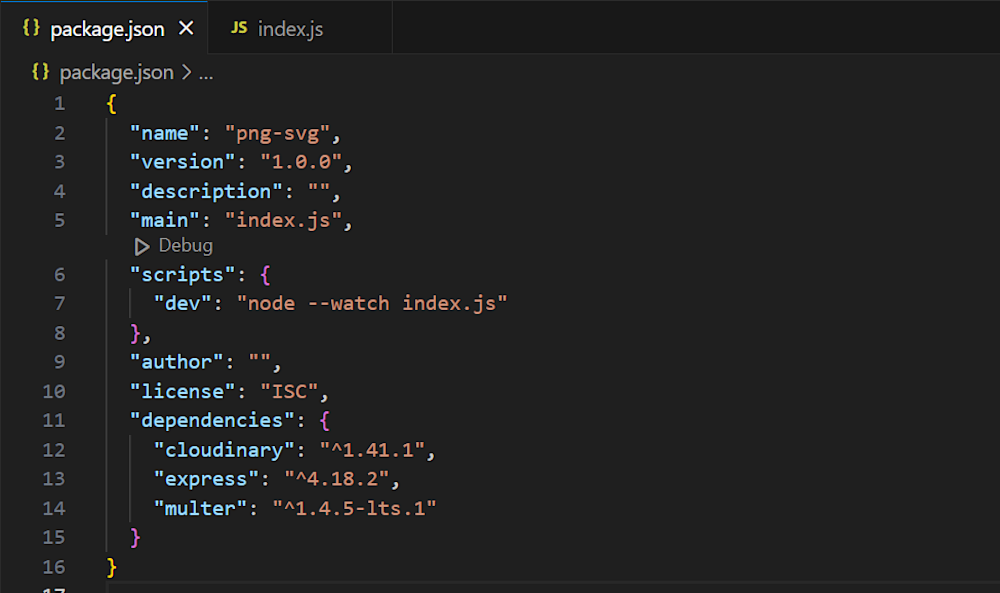
Next, edit the scripts field in package.json to the following:
...
"scripts": {    "dev": "node --watch --env-file=.env index.js },
Now, your package.json file should look similar to the image below:
Create a file named index.js in the root of the project and add the following code to it to create a server with Express:
const express = require("express");const app = express()
app.get('/', (req, res) =>  {
   res.send("Welcome to the home page")
})
app.listen(3000, () => {
console.log("App is running!")
})
Getting Your API Key
You’ll need an API Key to authenticate your requests to use Cloudinary to convert your PNG files to SVG. Follow the steps below to get your API Key:
- Log into your Cloudinary account.
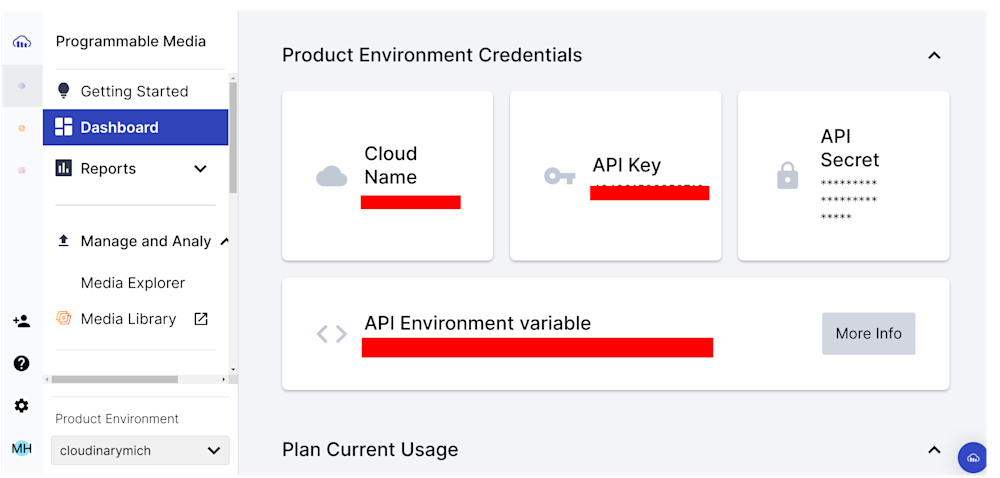
- Navigate to the Dashboard menu and copy your cloud name, API Key, and API Secret.
Cloudinary dashboard
Next, create a .env file and add the corresponding values as follows:
CLOUDINARY_API_KEY =
<YOUR_CLPOUDINARY_API_KEY>CLOUDINARY_CLOUD_NAME =
<YOUR_CLOUDINARY_CLOUD_NAME>CLOUDINARY_API_SECRET =
<YOUR_CLOUDINARY_API_SECRET>
Now, run npm run dev on the command line to start the server. When you navigate to localhost:3000, you should see “Welcome to the home page” rendered.
NOTE: Make sure the version of Node.js you’re using is not later than 18.11.0 to prevent errors when using the –watch flag. You can check the version of Node.js installed on your computer by running node -v in your terminal.
Converting the PNG file to SVG
Now, we’ll update index.js to programmatically convert any PNG image we upload to Cloudinary using the cloudinary.image method.
Update index.js to the following:
const express = require("express");const multer = require("multer");const cloudinary = require('cloudinary').v2;cloudinary.config({
    cloud_name: process.env.CLOUDINARY_CLOUD_NAME,    api_key: process.env.CLOUDINARY_API_KEY,    api_secret: process.env.CLOUDINARY_API_SECRET,    secure: true,});const upload = multer({ dest: 'uploads/' });const app = express();app.post('/upload', upload.single('photo'), async function (req, res, next) {
    if (req.file !== undefined) {
        try {
            const pic = await cloudinaryImageUpload(req.file.path);            const svgImage = convertToSVG(pic);            res.status(200).json({
                success: true,                picture: svgImage,            });        } catch (error) {
            res.status(400).json({
                success: false,                error,            });        }
    } else {
        res.status(400).json({
            success: false,            error: "No image was uploaded",        });    }
});const convertToSVG = (img) => cloudinary.image(img, { format: "svg" });const cloudinaryImageUpload = (file) => {
    return new Promise((resolve, reject) => {
        cloudinary.uploader            .upload(file)
            .then((result) => {
                resolve(result.public_id);            })
            .catch((error) => {
                reject(error);            });    });};app.listen(3000, () => {
    console.log("App is running!");});
Let’s understand what’s going on above.
- In the first few lines, we configured Cloudinary with our credentials for image upload and transformation.
- The
uploadvariable configures Multer to save the images sent to the server to anuploadsfolder in the root directory. - Next, we define a POST endpoint
/uploadthat receives a single image file named ‘photo’ (in this case, the PNG image we want to convert). - The
cloudinaryImageUploadfunction then uploads the PNG image to Cloudinary, and the resulting image is converted to SVG using theconvertToSVGfunction. - Finally, the server responds with a JSON object containing the success status and our SVG image data or an error message.
Trying It Out
Now, let’s see the result of our code so far. Download the Postman extension to test the application if you’re using VS Code as your code editor. The Postman extension allows us to test and make HTTP or API requests inside VS Code.
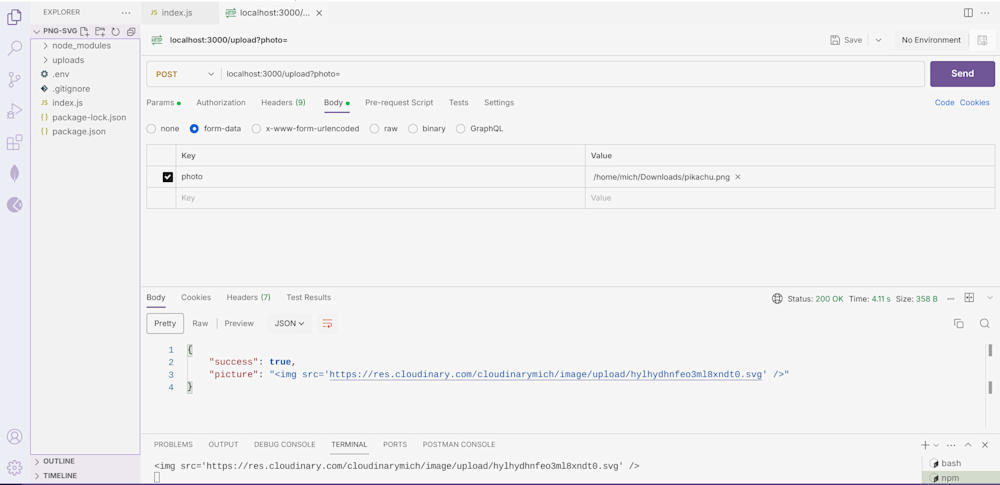
Make sure to configure the request parameters as shown in the image below, and you should get a link to download the SVG result of any PNG you upload to the endpoint.
As you can see, the picture field in the image above contains an HTML image with a link to the converted SVG file. Yay! If you want a direct URL to the converted file, you can use the cloudinary.url() method instead of cloudinary.image())
Final Thoughts
In this article, we talked about how you can convert PNG files to SVG using different software and online tools. We also walked you through how to use the Cloudinary Platform to achieve the same thing programmatically.
Elevate your media management with Cloudinary! Effortlessly upload, optimize, and deliver images and videos at lightning speed. Enhance your user experience and boost your website’s performance today.
Don’t wait—transform your digital assets with Cloudinary. Sign up now and see the difference!

