
Aligning images with CSS is a common task in web development, allowing you to control the positioning of images within your layout. It becomes crucial when you want to integrate images seamlessly into your content or maintain a specific aesthetic. Additionally, according to a recent survey by W3Techs, CSS is used by 97.1% of all websites worldwide for styling and layout.
In this guide, we will look at how to align images, when alignment is necessary, the available options, and how to align images specifically using Cloudinary.
In this article:

How to Align Images in CSS
Images in web development can be aligned using various CSS image align options to enhance a webpage’s layout and visual appeal. The primary alignment options include right, center, and left alignment, as well as baseline alignment.
Right, Center, and Left Align
In web development, right, center, and left alignment are fundamental options for positioning images within a layout. Let’s take a look at how to center an image in CSS.
Start by creating a new HTML file and creating a standard HTML workspace:
<!DOCTYPE html>
<html>
  <head>
    <title>Center Aligned Image Example</title>
  </head>
  <body>
  </body>
</html>
Next, use the img tag to add your image to the body of your page:
      <img class="center"
        src="http://res.cloudinary.com/demo/image/upload/v1/samples/sheep.jpg"
        alt="Sheep"
      >
Finally, add the image alignment CSS code in the style tag to center your image:
    <style>
        .center {
        display: block;
        margin-left: auto;
        margin-right: auto;
        width: 50%;
      }
      </style>
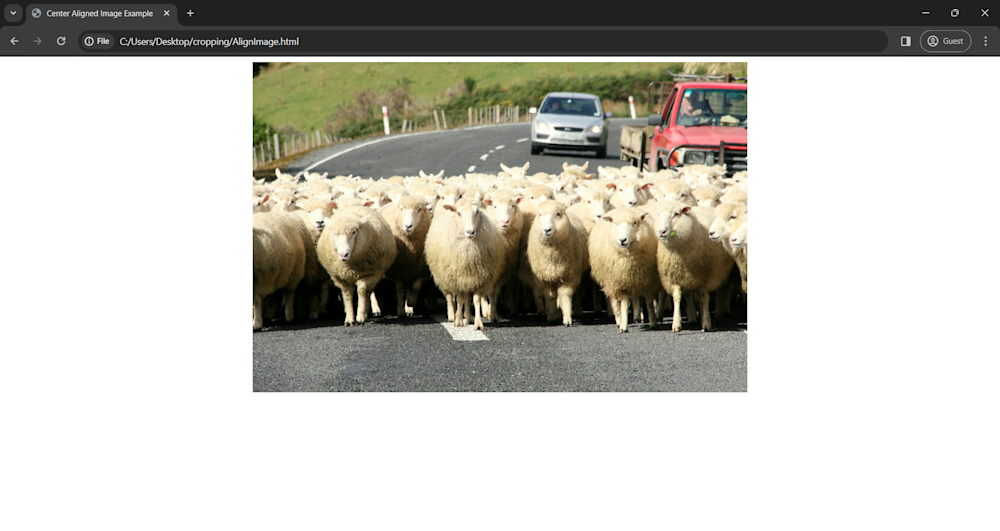
In this code, the display: block; property is used to treat the images as block-level elements so that we can define their width and height. We then use a combination of margin-left: auto; and margin-right: auto; to center the image within its container. Adjusting these margins allows us to achieve left or right alignment based on our design preferences.
Finally, adding a width property allows us to resize our image. Here is what our page looks like:
Baseline Alignment
Using baseline alignment is another key option for balancing images with text on your webpage. This can be done using vertical-align: baseline;, ensuring that our image’s base aligns with the accompanying text’s baseline.
This precise alignment allows us to seamlessly integrate images into the overall design of our webpage, allowing us to enhance its visual appeal. Additionally, the align CSS image property can be utilized to fine-tune the alignment further, ensuring optimal presentation.
The following code allows you to implement baseline alignment using HTML and CSS:
<!DOCTYPE html>
<html>

<head>
  <title>Baseline Alignment Example</title>
  <style>
    .image-with-text {
      display: inline-block;
      vertical-align: baseline;
      /* Align the baseline of the image with the baseline of text */
      width: 20%;
    }
  </style>
</head>

<body>
  <p>
    This is some text with an <img src="http://res.cloudinary.com/demo/image/upload/v1/samples/sheep.jpg"
      alt="Example Image" class="image-with-text"> image.
    The baseline of the image is aligned with the baseline of the text.
  </p>
</body>

</html>
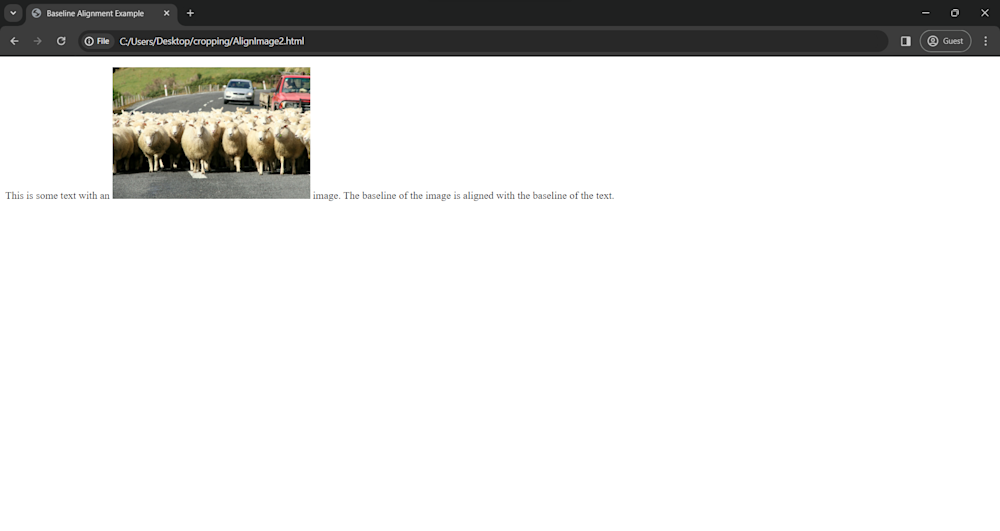
In this example, the .image-with-text class is used to style the image element. By setting vertical-align: baseline;, we make sure that the base of our image aligns with that of the surrounding text. Here is what our page looks like:

Using the Gravity Option in Cloudinary
Imagine you have an image and aim to focus on a specific object or region within it. While HTML and CSS offer some control, manually fine-tuning images with CSS properties can quickly become tiring. In this situation, you can use a platform like Cloudinary to adjust your images automatically.
Cloudinary is a cloud-based image and video management powerhouse offering various tools for seamless media manipulation and optimization. Its gravity-based cropping allows you to align images according to the elements within them. This way, you gain precise control over positioning, allowing you to effortlessly direct the user’s attention to your desired focal points.
To use Cloudinary to dynamically resize and crop images, you’ll need to create an account. Go to the Cloudinary website and follow the prompts to sign up for free.
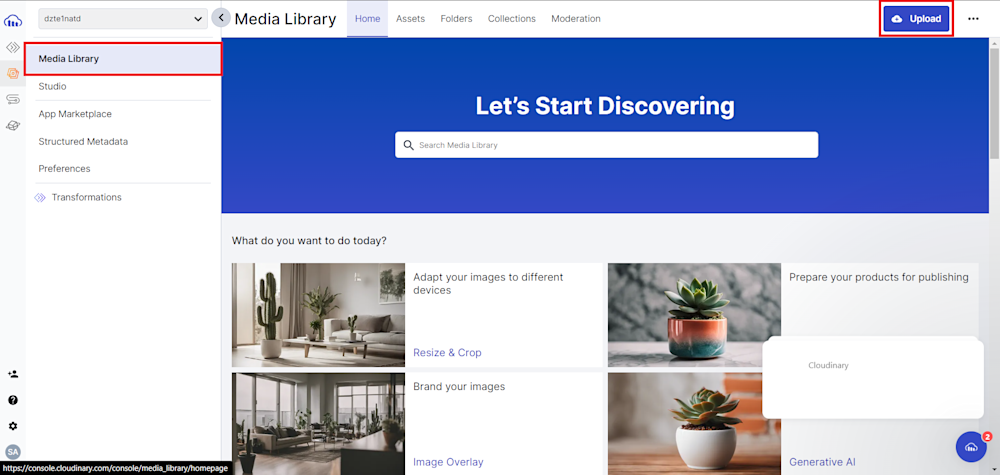
Once you’ve created your account, sign in and upload your images using the Upload button in the Media Library tab.
Once uploaded, head over to the Assets tab and copy the URL of your image. With this, we’re ready to add our image to our webpage.
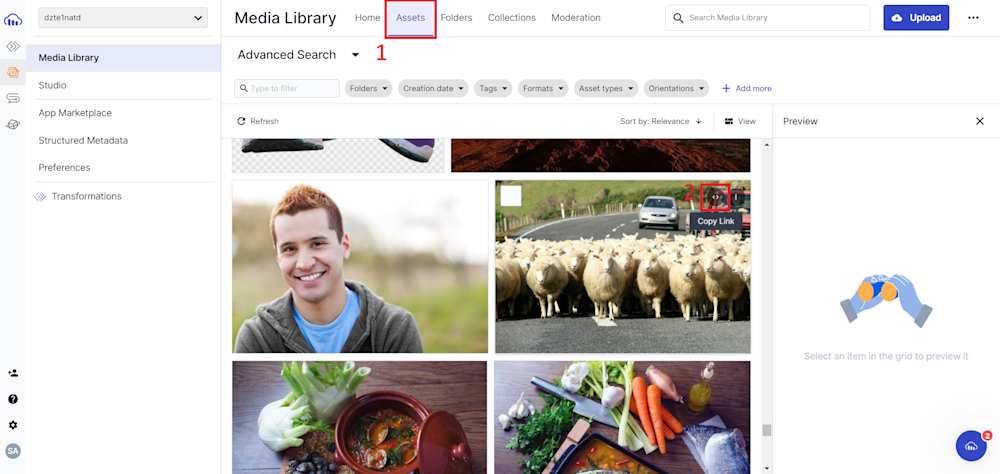
Here is what our URL looks like:
http://res.cloudinary.com/demo/image/upload/samples/sheep.jpg
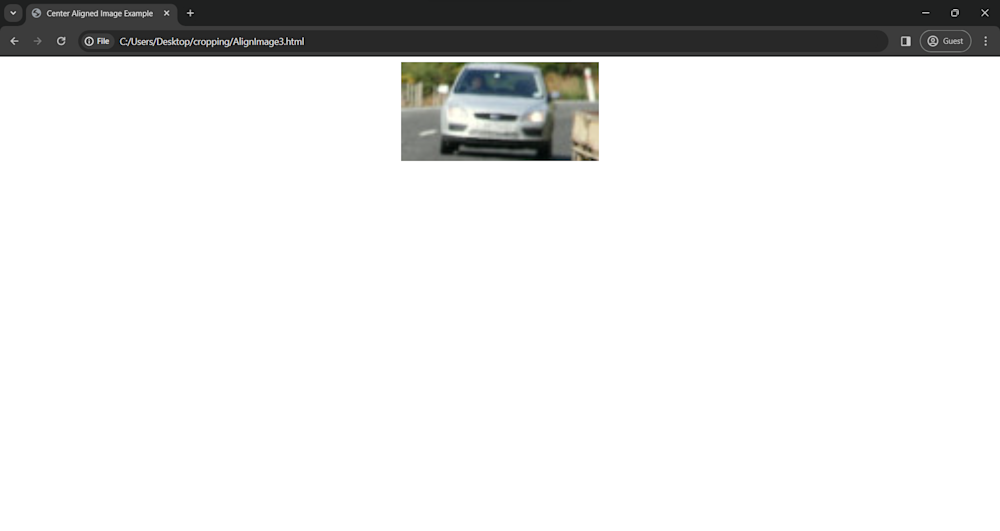
Before we add our image, we will need to modify its URL to focus on certain areas of our image. For instance, to draw attention to the car within our image, we’ll modify the image URL with four key parameters: c_auto for cropping, g_car to align the crop with the car’s position, and w_100 and h_50 to specify the desired width and height. Our URL should look like this:
https://res.cloudinary.com/demo/image/upload/c_auto,g_car,w_100,h_50/samples/sheep.jpg
Here is what our page looks like:
You can learn more about dynamic image resizing and cropping by visiting Cloudinary’s official documentation.
Wrapping Up
Perfecting image alignment through CSS elevates your web design’s aesthetics and enhances the overall user experience. By understanding how to align images with CSS and leveraging the flexibility of Cloudinary, you can effortlessly create visually appealing and professional-looking websites.
With its user-friendly platform and powerful features, Cloudinary simplifies the process of image alignment and optimization, allowing you to focus on crafting captivating digital experiences. Sign up for a free account today and transform your website into a visual masterpiece.
Learn more:
- Working With CSS Images
- Handle Text Wrap Around Images Using HTML and CSS
- Working with Video? Check Video API
;rgba(153,153,153,0.1);rgba(153,153,153,0.5)" dur="2s" repeatCount="indefinite" /></rect></svg>)