Image formats help preserve file quality, improve optimization, promote engagement, and aid accessibility. Understanding how converting MP4 to PNG format works and its potential is crucial, primarily when the resulting images are used for websites and business pages.
You can convert MP4 files to PNG images in several ways. While it can be done manually, other processes are automated. This article will explore manual and automated image format conversion, the benefits involved, and best practices to consider.
- What is an image format?
- Why should you convert an MP4 file to PNG?
- How can you change an image format manually?
- How do you convert MP4 files to PNG automatically with Cloudinary?
- Want to learn more about image formats with Cloudinary?
What is an image format?
An image format is the extension in which the digital file is represented. These file formats can be converted or compressed using lossy or lossless compression.
Some examples of image formats include:
When converting an image format, retaining the quality is essential to keep in mind.
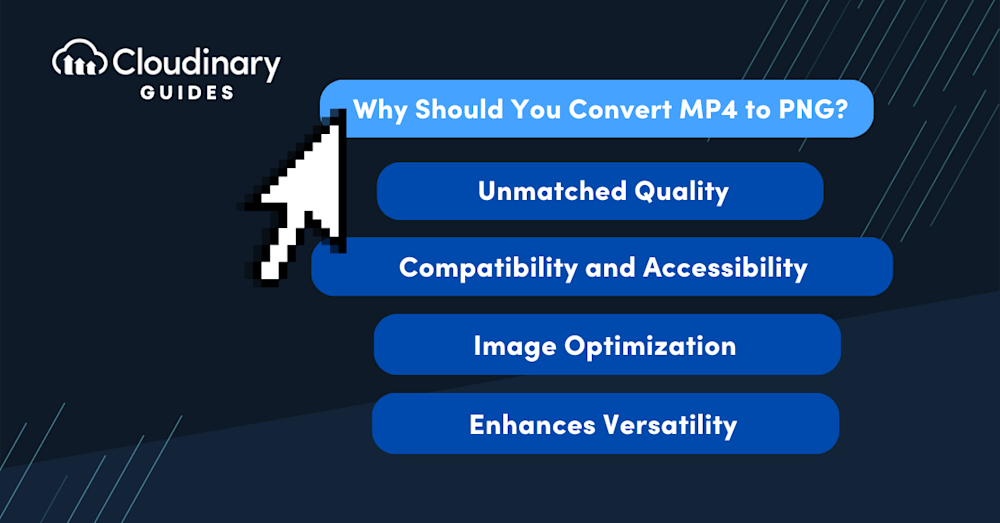
Why Should You Convert MP4 to PNG?
A PNG format is often used when a still single frame that captures an iconic moment is isolated from an MP4 video. This still frame can be used to help convey a story, advertising, thumbnails, and a wide array of other applications. The reason why PNGs are commonly used to capture these stills is due to their lossless image compression. Instead of a compressed, blocky image, PNGs preserve the high quality of your MP4 file, although they are reduced to that single frame.
Here are some common reasons why you may want to convert MP4 file to PNG:
- Unmatched Quality – PNG is a unique image format because of its lossless compression. This helps preserve the integrity of the original MP4 video when it is converted to PNG. The final still image retains the fidelity, detail, vibrancy, and depth of the video scene.
- Compatibility and Accessibility – PNG files are widely supported across various platforms and devices, making them easily accessible for viewing, sharing, and editing. Converting video frames to PNG can enhance compatibility, especially in environments where video playback might not be supported or is less convenient.
- Image Optimization – Images play a significant role in developing well-optimized websites. Rather than incorporating large videos on a website, developers would rather obtain a scene, compress it, and upload it as a PNG. The portable image gives a full representation of the entire video and contributes to improved optimization.
- Enhances Versatility – There is more to converting MP4 to PNG than obtaining a still image. It is about creating something new (the image) from an existing video. This helps you create versatile websites and business pages containing a mix of images and videos.
How can you change the image format manually?
Without the use of third-party software like FFMPEG or video editing tools, creating a PNG from an MP4 can be difficult. To do this manually, you can follow these steps:
- Open your file explorer and find the video location.
- Click on the View tab and check the file name extension.
- Open the video file and navigate to the scene that captures an explicit detail of the video or the one that most appeals to your audience.
- Take a screenshot of the scene.
- Proceed to open the screenshot in an application such as Paint or Adobe.
- Click on “Save As” and choose PNG from the image extension list.
By following the steps above, you will have created a PNG image from an MP4 video on Windows. As you can tell, it can require a lot of time and isn’t something that can be done at scale.
However, this manual method is even less efficient than automated methods, like Cloudinary. Automated methods help developers and creators convert and transform multiple MP4 videos, no matter the project’s size or scale.
Let’s go to see how to convert MP4 file formats to PNG using Cloudinary and the best practices involved.
How to Convert MP4 to PNG on Mac
- Open Finder and locate the MP4 video.
- Right click on the video and go to Open With -> QuickTime Player
- Without playing the video, position the timeline where you want to take the picture.
- Press these three keys together: Shift, Command, and 4 to capture a portion of your screen.
- Click on the corner left of the Video, and without releasing, move your cursor to the bottom right of the video, now release.
- The png image will be in your Desktop.
As you can see, this method requires a lot of time if you need more than one image and isn’t something that can be done at scale.
Let’s go to see how to convert MP4 file formats to PNG using Cloudinary and the best practices involved.
Pro Tip
Transform Images On-The-Fly
Manually transforming a large number of images can be tasking and time-consuming. Cloudinary allows you to easily transform your images on the fly to any required format, style and dimension, and apply effects and other visual enhancements.
How to convert MP4 to PNG automatically with Cloudinary?
While many websites exist for image format conversion and customization, many of them are not scalable. To this end, solutions such as Cloudinary have been developed to bridge the gap.
As an end-to-end solution for websites and applications, Cloudinary allows you to change image formats and personalize them automatically within its Application Program Interface (API). This way, developers and creators can easily transform and change image format while the quality and details of the MP4 video are retained.
Create and Set up the App
Before starting our conversions, we need to set up our project. We’ll be using Cloudinary paired with React and Node.js for this demonstration. If you don’t already have a Cloudinary account, you can sign up for free to get started and follow along.
After installing Node, create a simple React application on your computer using the prompt below:
npx create-react-app example-app
Proceed to install Cloudinary for JavaScript and React using this NPM command: npm i @cloudinary/url-gen @cloudinary/react
You can begin using npm start on your example-app directory.
While this basic structure, navigate to App.js in the src directory, using the string of codes below to set up the Cloudinary app for react.
import React from 'react'
import {Cloudinary} from "@cloudinary/url-gen";
const App = () => {
  // Create a Cloudinary instance and set your cloud name.
  const cld = new Cloudinary({
    cloud: {
      cloudName: 'demo'
    }
  });
};
export default App;
Don’t forget to change the cloud name to yours as well, using the credentials from your Cloudinary dashboard.
Convert MP4 to PNG
To transform our video to a PNG image in Cloudinary, we simply upload the MP4 file or short video before changing it to our desired format. The original name of the video we are using is “dancing_girl” with an MP4 extension. Let’s see how Cloudinary converts it to a PNG while maintaining the quality.
To convert the image format to PNG, upload the file to Cloudinary and set the file name as the public ID. Once this is done, import specific functions to help display the short video. You will find this prompt useful.
import './App.css';

import React from 'react';
import {Cloudinary} from "@cloudinary/url-gen";
import {AdvancedImage} from '@cloudinary/react';
...
With the next code below, the image will be added to the app:
...
  const myImg =  cld.image("dancing_girl", {format : 'mp4'});
...
The image format can be converted by changing the extension. Cloudinary is dynamic so the extension can be changed before uploading or be left in the original state. Upon changing the format, we will have the code below:
...
const myImg =  cld.image("dancing_girl", {format : 'png'});
...
It’s important to know that if we are using React, the resulting image needs to be returned in the React component. The final outlook of the codes will be:
import './App.css';
import React from 'react';
import {Cloudinary} from "@cloudinary/url-gen";
import {AdvancedImage} from '@cloudinary/react';

const App = () => {

  // Create a Cloudinary instance and set your cloud name.
  const cld = new Cloudinary({
    cloud: {
      cloudName: 'dancinggirl'
    }
  });
  // Create a Cloudinary instance and set your cloud name.
  const myImg =  cld.image("dancing_girl", {format : 'png'});

  return (
    <div>
      <AdvancedImage cldImg={myImg} controls/>
    </div>
  )

};
export default App;
The resulting image will be a still photo frame as captured below.
Best Practices for Converting MP4 to PNG
It is not enough to randomly convert your MP4 files to PNG, certain best practices must be considered. Below, we will discuss two of the most popular ones.
1. Size the image correctly
Beyond converting the image format, having an image with the right dimensions promotes user-friendliness. You can customize the dimension of your image on Cloudinary. This way, you kill two birds – convert the format and resize while retaining quality.
2. Be cautious when editing the original file
Caution must be taken when editing the original MP4 style. This is because changes made to MP4 files are often permanent and the right image quality must always be retained. Should you decide to compress the file, ensure to use lossless compression.
3. Choose the Right Frames
Carefully select the frames you want to convert. Not every frame of a video is worth saving as a PNG, so focus on those that are most relevant to your needs, such as key moments or high-quality visuals.
Want to Learn More About Image Formats with Cloudinary?
Converting your MP4 file format to PNG enhances accessibility, retains quality, and promotes optimization. MP4 files can also be converted to other formats, however, just a handful of new versions are supported on popular browsers.
Understanding Cloudinary’s role in the conversion of MP4 to PNG and other formats starts with signing up for a free tier account. Visit Cloudinary to begin now!


