GIFs have become a popular and engaging form of visual content on the internet. But what if you could refine your GIFs even further? Cropping can be a helpful technique in unlocking hidden potential and boosting your webpage.
Cropping can be a valuable tool if you’re looking to trim unnecessary parts, focus on specific elements, or simply reduce file size. In this article, we will explore different ways to crop GIFs effectively, including using Cloudinary, a versatile cloud-based media management platform.
In this article:
Ways to Crop GIFs
Whether it’s for social media posts, messaging, or creating content, the ability to customize and tailor GIFs to fit our needs has become increasingly important. Cropping GIFs, in particular, allows us to focus on the most impactful part of the image, remove unnecessary details, or adjust the aspect ratio to meet specific platform requirements.
Here are a few common methods for cropping GIFs, each offering its advantages depending on your needs and the tools at your disposal:
- Online Tools (Console-Based) – One of the easiest ways to crop GIFs is through online tools that offer console-based functionality. These tools usually provide a user-friendly interface where you can upload your GIF, specify cropping dimensions, and perform the cropping operation.
- Desktop Software – If you prefer more control and advanced features, desktop software can be an excellent option for cropping GIFs. Desktop software is ideal for users who want a professional level of control over their GIF editing process.
- Programming Approach with APIs – Platforms like Cloudinary provide APIs that allow developers to integrate a GIF cropper into their applications or scripts. You can automate the cropping process by leveraging these APIs, making it efficient for bulk batch processing or dynamic content generation. This approach is handy for those who want to incorporate GIF cropping into their custom workflows or applications.
How to Crop Your GIFs With Cloudinary?
Cloudinary is a robust cloud-based platform that offers various media management services, including the ability to crop GIFs. We’ll walk you through the process of using Cloudinary’s tools to crop and customize your GIFs effortlessly. With its user-friendly interface and powerful features, Cloudinary provides a convenient solution for individuals and businesses seeking efficient GIF editing capabilities.
Crop Animated GIFs
Animated GIFs often contain multiple frames, making traditional cropping challenging. However, with the right tools and techniques, you can crop animated GIFs while preserving their dynamic nature.
Let’s take a look at how you can crop GIFs with Cloudinary. But before we can start, we’ll need to create an account. Go to the Cloudinary website and sign up for free today.
Next, open your terminal, navigate to your project directory, and type the following command to install the Cloudinary Python SDK:
pip install cloudinary
With this, we are ready to make calls to our Cloudinary cloud.
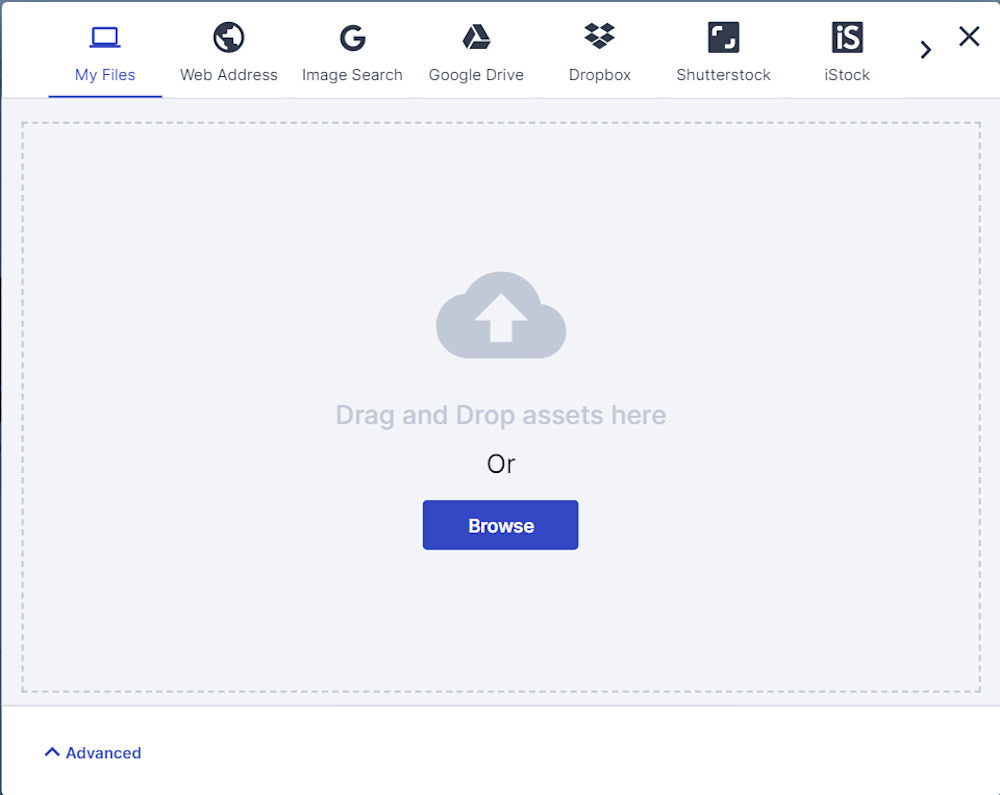
Before transforming our images, let’s upload a sample GIF file to our cloud. To do this, head to Cloudinary and log in to your account. Here, you will be greeted with the Media Library tab. Now, click on the Upload button to upload your image:
For this tutorial, we will be using kitten_fighting.gif, available in the Cloudinary demo cloud:
Next, create a Python file and start by importing the Cloudinary SDK and defining our API with our account details:
import cloudinary
from cloudinary import CloudinaryImage

# Replace with your cloud_name, api_key, and api_secret
cloudinary.config(
    cloud_name = "demo"
)
Now, simply call the Cloudinary API using CloudinaryImage and pass in the public_id of your image. Here, we will chain the .image() method and define a "crop" transformation to change our width and height to 200px each. Here is what our code looks like:
import cloudinary
from cloudinary import CloudinaryImage

# Replace with your cloud_name, api_key, and api_secret
cloudinary.config(
    cloud_name = "demo"
)

image_url = CloudinaryImage("kitten_fighting.gif").image(transformation=[
    {"height": 200, "width": 200, "crop": "crop"}
])

print(image_url)
Running the code yields the following output and image:
Reduce GIF Size
Large file sizes can be a concern, especially when sharing GIFs online. We can efficiently reduce the size of your GIFs without compromising too much on quality. This can be particularly helpful for improving website loading times or sharing GIFs on platforms with file size limitations.
Like before, start by configuring Cloudinary with your account credentials. Next, choose the GIF you want to optimize and specify the desired cropping dimensions. Then, use the uploader API to upload the GIF to Cloudinary:
gif_path = 'path_to_your_gif.gif'

upload_result = uploader.upload(
    gif_path,
    transformation=[
        {"height": 200, "width": 200, "crop": "crop", "quality": 80}
    ]
)
Here, we will apply the crop and quality transformations to reduce the GIF size.
Once the GIF is uploaded and cropped, retrieve the URL of the optimized version.
if 'error' in upload_result:
    print("Error:", upload_result['error'])
else:
    cropped_image_url = cloudinary.CloudinaryImage(upload_result['public_id']).url(secure=True)
    print("Cropped GIF URL:", cropped_image_url)
Here is what our code looks like:
import cloudinary
from cloudinary import uploader

cloudinary.config(
    cloud_name="your_cloud_name",
    api_key="your_api_key",
    api_secret="your_api_secret"
)

gif_path = './Assets/kitten_fighting.gif'

upload_result = uploader.upload(
    gif_path,
    transformation=[
        {"height": 200, "width": 200, "crop": "crop", "quality": 80}
    ]
)
if 'error' in upload_result:
    print("Error:", upload_result['error'])
else:
    cropped_image_url = cloudinary.CloudinaryImage(upload_result['public_id']).url(secure=True)
    print("Cropped GIF URL:", cropped_image_url)
Running the script yields the following output and image:
Split GIFs and Create A New One
Sometimes, you might want to divide a GIF into separate sections and create a new, customized compilation. This process involves splitting the original GIF, selecting desired segments, and combining them to form a new GIF.
For this, we will start by creating a function called get_frames that takes in 2 parameters: the number of frames and the path to our image file. We will start by using Cloudinary’s uploader API to upload our image. We will also use the response object to retrieve the public_id of this new image:
def get_frames(n, path):
    # Upload the image to Cloudinary
    response = uploader.upload(path)
    cloudinary_id = response["public_id"]  # Store the public ID for later use
Next, we create an empty list named files to store the file names of our frames. Now, we will use Cloudinary’s transformation parameter to retrieve a specific frame of our image. We will then use requests to retrieve the frame and save the file as a PNG image.
Here is what our function looks like:
def get_frames(n, path):
    # Upload the image to Cloudinary
    response = uploader.upload(path)
    cloudinary_id = response["public_id"]  # Store the public ID for later use

    # List to store file names
    files = []

    # Iterate through 'n' frames
    for frame_number in range(1, n+1):
        # Apply a transformation to the image to get a specific frame
        cloudinary_image_url = cloudinary.CloudinaryImage(cloudinary_id).build_url(
            transformation=[{'page': str(frame_number)}]
        )

        # Print the resulting image URL
        print(f"Frame {frame_number} URL: {cloudinary_image_url}")

        # Download the image using requests
        image_response = requests.get(cloudinary_image_url, stream=True)

        # Save the image to a file
        with open(f'frame_{frame_number}.png', 'wb') as file:
            file.write(image_response.content)
            files.append(f'frame_{frame_number}.png')

        print(f"Frame {frame_number} downloaded successfully.")

    return files
Next, we will define a function called upload_images_and_create_gif that takes two parameters image_file_paths, which represents a list of file paths of images to upload, and a tag, which signifies a string to associate with the uploaded images and the resulting GIF.
Next, inside a try-except block, we loop through each file path in the image_file_paths list and upload each image to Cloudinary
        for file_path in image_file_paths:
            upload_result = uploader.upload(file_path, public_id=file_path, tags=[tag])
            uploaded_images.append(upload_result)
Now, we use the uploader API’s multi method to form an animated GIF from the uploaded images:
uploader.multi(tag, resource_type='image')
Finally, we retrieve the URL of our newly generated GIF and print it in the terminal output. Here is what our entire code looks like:
import cloudinary
from cloudinary import uploader, utils
import requests

# Configure Cloudinary with credentials
cloudinary.config(
    cloud_name="drkbps78i",
    api_key="339676663794317",
    api_secret="S5IaIKMOjTRoVRc0q8chKP6EnAU"
)

def get_frames(n, path):
    # Upload the image to Cloudinary
    response = uploader.upload(path)
    cloudinary_id = response["public_id"]  # Store the public ID for later use

    # List to store file names
    files = []

    # Iterate through 'n' frames
    for frame_number in range(1, n+1):
        # Apply a transformation to the image to get a specific frame
        cloudinary_image_url = cloudinary.CloudinaryImage(cloudinary_id).build_url(
            transformation=[{'page': str(frame_number)}]
        )

        # Print the resulting image URL
        print(f"Frame {frame_number} URL: {cloudinary_image_url}")

        # Download the image using requests
        image_response = requests.get(cloudinary_image_url, stream=True)

        # Save the image to a file
        with open(f'frame_{frame_number}.png', 'wb') as file:
            file.write(image_response.content)
            files.append(f'frame_{frame_number}.png')

        print(f"Frame {frame_number} downloaded successfully.")

    return files


def upload_images_and_create_gif(image_file_paths, tag):
    try:
        uploaded_images = []
        for file_path in image_file_paths:
            # Upload each frame as an image to Cloudinary
            upload_result = uploader.upload(file_path, public_id=file_path, tags=[tag])
            uploaded_images.append(upload_result)

        # Create a multi-image (animated GIF) from the uploaded images
        uploader.multi(tag, resource_type='image')

        # Get the URL of the created animated GIF
        gif_url = utils.cloudinary_url(f"{tag}.gif", type="multi")[0]

        print('Animated GIF URL:', gif_url)
    except Exception as error:
        print('Error:', error)
Finally, we call the function with the list of image files and the appropriate tag as the parameter:
files = get_frames(5, "./Assets/kitten_fighting.gif")
upload_images_and_create_gif(files, "Kitten")
Here is what our output image looks like:
Wrapping Up
Cropping GIFs opens up a world of creative possibilities, allowing you to tailor your animated content to fit your specific needs. Whether you’re looking to highlight a specific moment, create a new compilation, or reduce file size, the methods explored in this article, including Cloudinary, provide the tools to enhance your GIFs and make them stand out in the digital landscape.
Elevate your brand with Cloudinary’s cutting-edge image and video management solutions. Sign up for free today.
Learn more:
- Cropping to Aspect Ratio
- Image resizing and cropping
- Imagga Crop and Scale
- Working with Video? Check Video API


