Images play a crucial role in captivating user attention and enhancing websites. Netlify has established itself as a trusted web development platform used by over 3 million people worldwide, including large enterprises like Unilever and Nike. It understands the importance of efficient image management in modern web design, and with websites relying more on visuals than ever, the demand for streamlined image handling and optimization is soaring.
So, in this article, we will dive into the dynamic duo of Cloudinary and Netlify, harnessing the potential of web assets, especially images. Netlify image optimization is pivotal in boosting web performance, ensuring swift loading times, bandwidth efficiency, cost-effectiveness, and a sustainable online presence.
Why You Need Image Optimization on Netlify
Image optimization is a process where you efficiently compress the size of the images without considerably affecting their visual quality. How does that help your website? Consider an image file size as a physical weightless weight that allows your website to move faster, yielding a smoother browsing experience for your users. This boosts site performance significantly on various dimensions like loading speed, SEO, and overall user experience.
However, Netlify recently dropped support for its inbuilt asset optimization. You may find your website’s performance slipping without those friendly, built-in optimizations. If you don’t act to replace this support with other image optimization practices, unoptimized images can create a few drag points for your website.
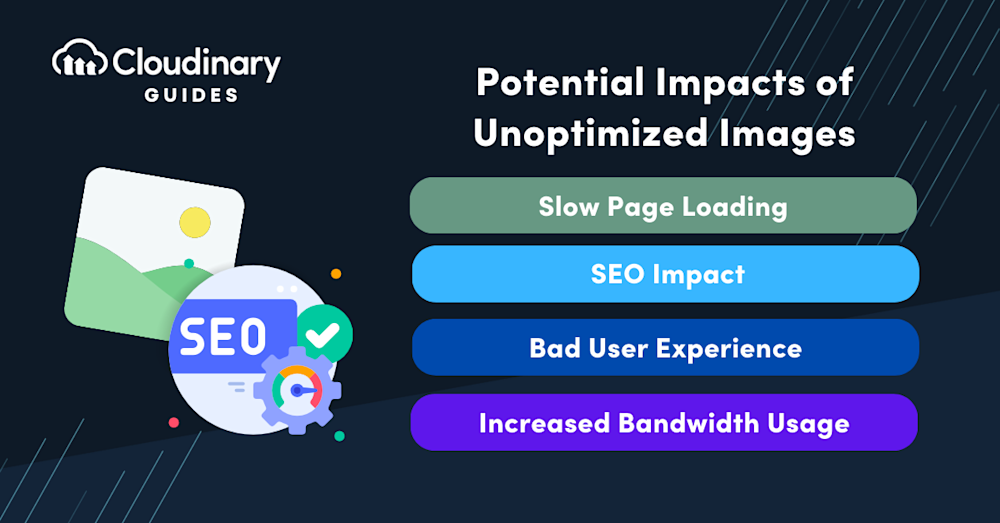
Here’s a list that spells out the potential impacts of unoptimized images:
- Slow Page Loading. Heavier images take longer to load, leading to increased page load times.
- SEO Impact. Search engines consider site speed as a ranking factor. Slower sites might not rank as well in search results.
- Bad User Experience. Slow loading times can frustrate visitors, leading to higher bounce rates and lower time on site.
- Increased Bandwidth Usage. Unoptimized images consume more bandwidth, which can lead to increased hosting costs.
It’s clear that image optimization isn’t just a good-to-have – it’s a must for any developer aiming to deliver a top-notch website. So, while Netlify dropping its asset optimization is something to keep an eye on, remember that there are other ways to ensure your images are serving your website, not hindering it. With a bit of proactive action, you can keep your website performing at its best, even amid changes.

What Cloudinary Can Do
Cloudinary is a popular cloud-based platform that deals with all things related to digital media management – including images, videos, and more. It provides a comprehensive suite of tools to streamline the entire media management process, from uploading and storing to transforming, optimizing, and delivering media across numerous devices and channels. When it comes to Netlify image optimization, Cloudinary shines with its powerful capabilities that can significantly enhance your website’s performance:
- Automatic Format Selection. Cloudinary automatically selects the best image format for each user based on their browser and device, ensuring optimal compatibility and performance.
- Responsive Images. Cloudinary can generate images that adapt to various screen sizes and resolutions, delivering a better user experience across devices.
- Intelligent Quality Compression. Cloudinary’s algorithms can automatically compress images to the optimal quality-level balance, reducing file sizes without noticeably affecting visual quality.
- Lazy Loading. Cloudinary provides lazy-loading support, which defers the loading of off-screen images until they’re needed, leading to faster initial load times.
- Image Editing. Cloudinary allows you to easily crop, resize, and manipulate images for image editing, ensuring they look their best on your site.
Not only does Cloudinary offer a wide range of image optimization features, but it also integrates seamlessly with Netlify. By combining the power of the two platforms, you can have better control and management over your digital assets, ultimately helping you elevate your website’s performance. Once you integrate Cloudinary with your Netlify-based site, you can harness these optimization capabilities while still enjoying the benefits of Netlify as your site-building platform.
Integrating Cloudinary for Netlify Image Optimization
Now that we know about Cloudinary and image optimization let’s dive into a hands-on guide to help you seamlessly integrate Cloudinary into your Netlify website.
Signing Up For Cloudinary
Start by signing up for a free Cloudinary account if you haven’t already. Next, log in to your Cloudinary account and head to the Dashboard tab to retrieve your Product Environment Credentials.
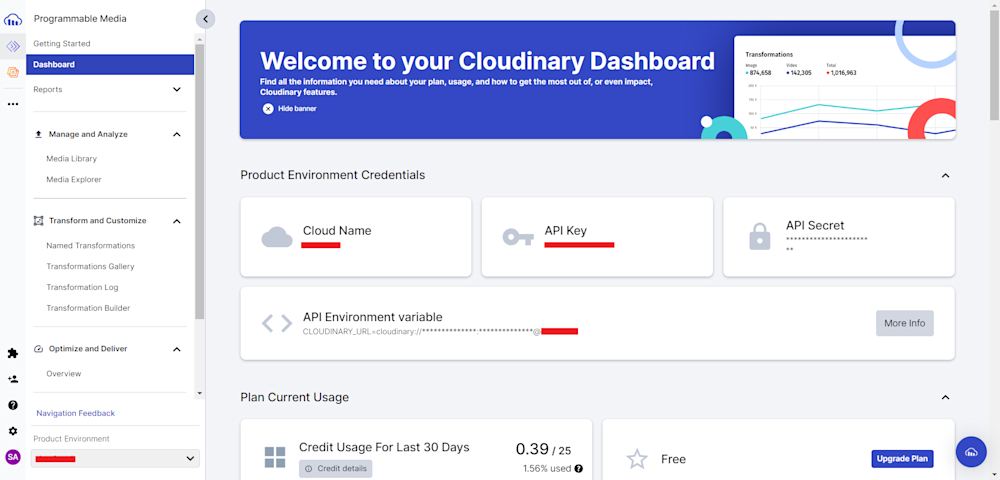
Save these credentials, as we will be needing them for later.
Deploying Your Netlify Site
With your Cloudinary account ready, let’s create a sample project. For this tutorial, let’s use a simple image gallery created by Colby Fayok, which you can find in this GitHub repository. Log in to your GitHub account and start by forking this repository.
Next, log in to your Netlify account and open the Sites tab. Next, click Add new site > Import an existing project > Deploy with GitHub. Finally, select your forked GitHub repository.
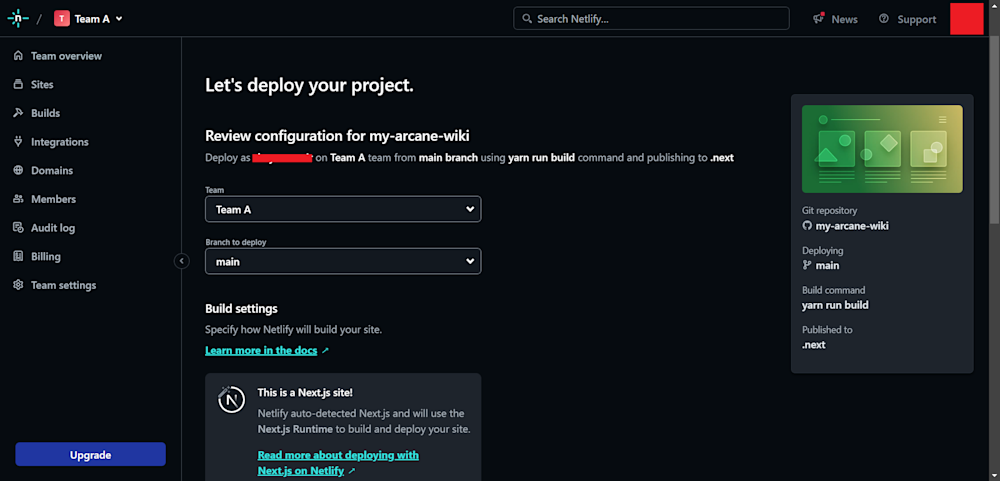
Now, all that remains is to configure your site. Thankfully, Netlify automatically detects the framework used for the website and creates build commands suited for the project. Here, you will use the default commands provided by Netlify. Now click on Deploy to deploy your website.
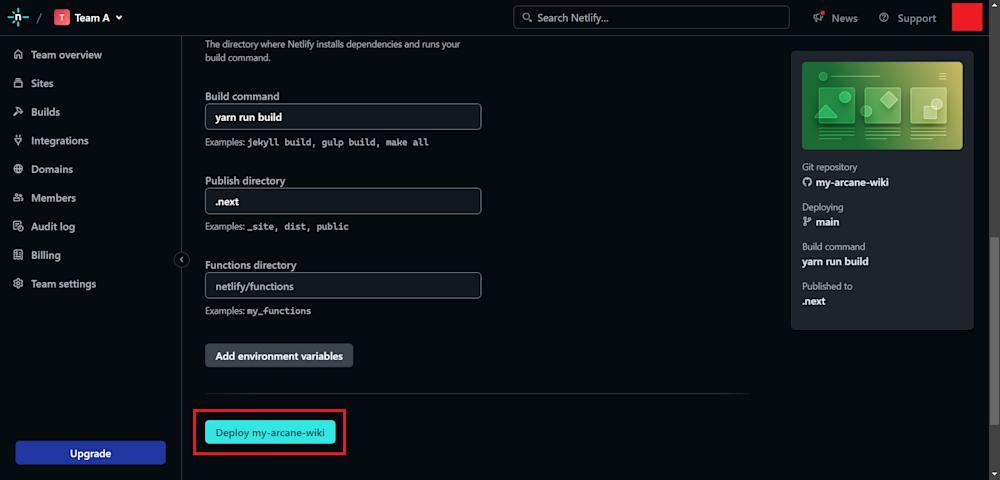
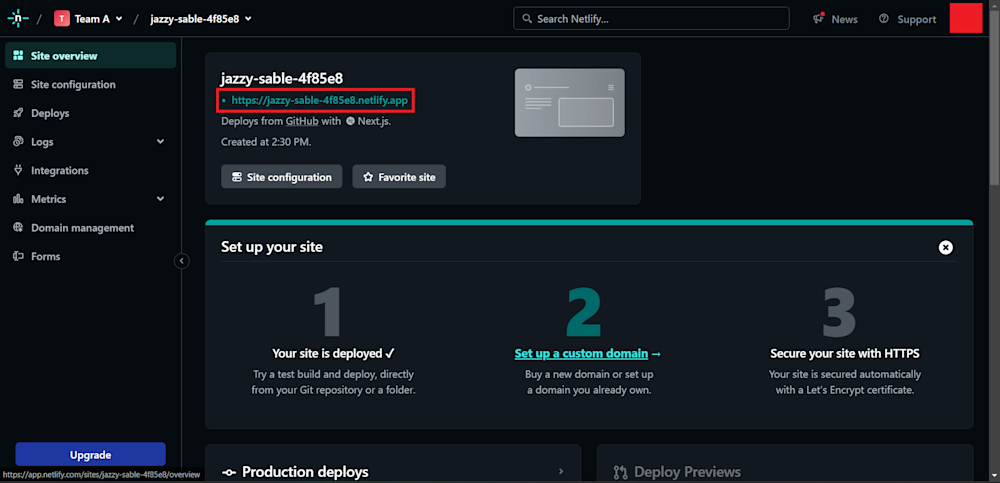
With this, your site has been deployed and is ready to use. You can check it out using the link shown in the Site Overview tab.
Integrating Cloudinary Image Optimization Module
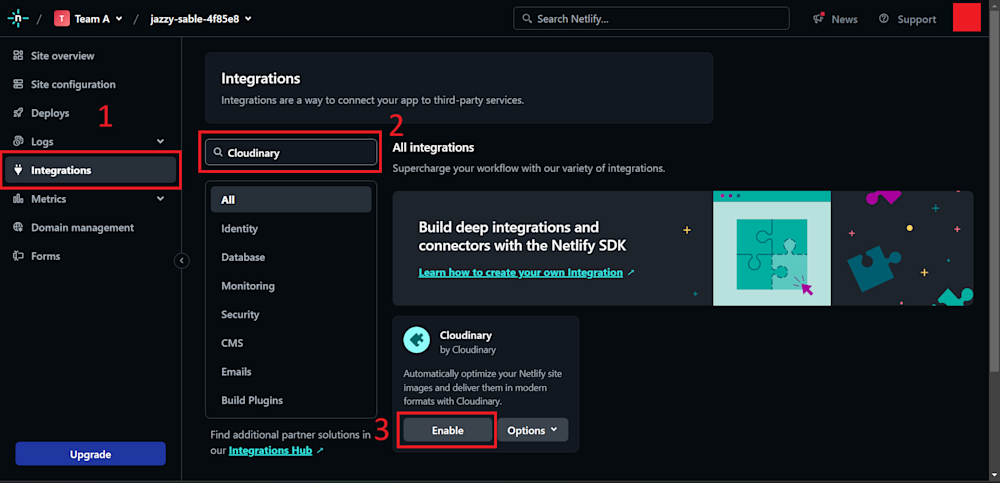
Now that your site is ready, you can integrate the Cloudinary module to optimize your assets. Head over to the Integrations tab and search for the Cloudinary module. Next, select Enable, then Install to install the module into your site:
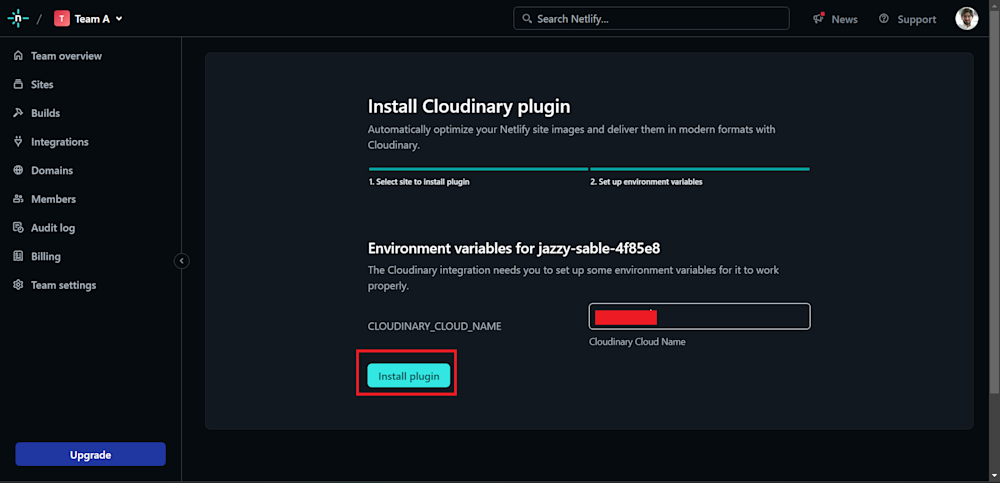
Finally, add your Cloudinary cloud name as an environment variable to your plugin and click on Install Plugin. This will install the plugin into your Netlify website.
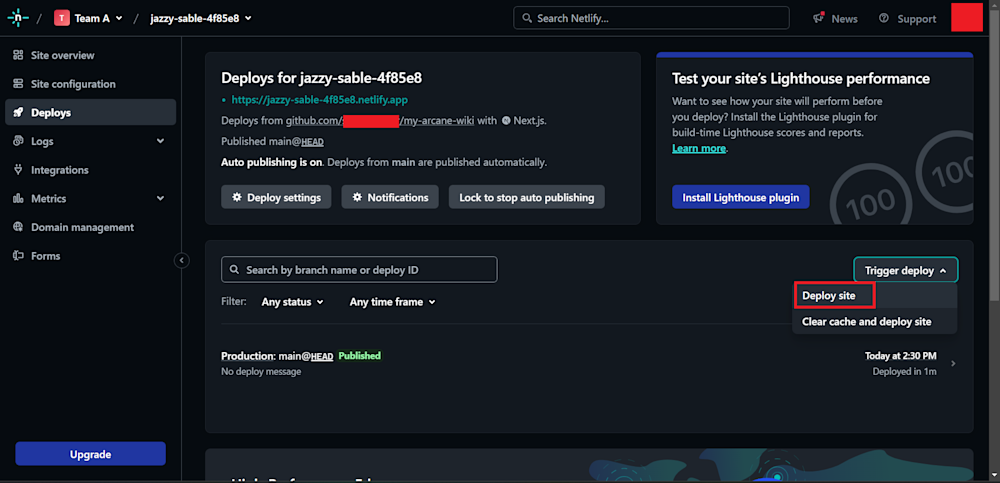
Now, head over to the Deploy page and redeploy your site.
With this, your site is ready. Now, you can head over to your site using the link on the Site Overview page. Here is what our website looks like:
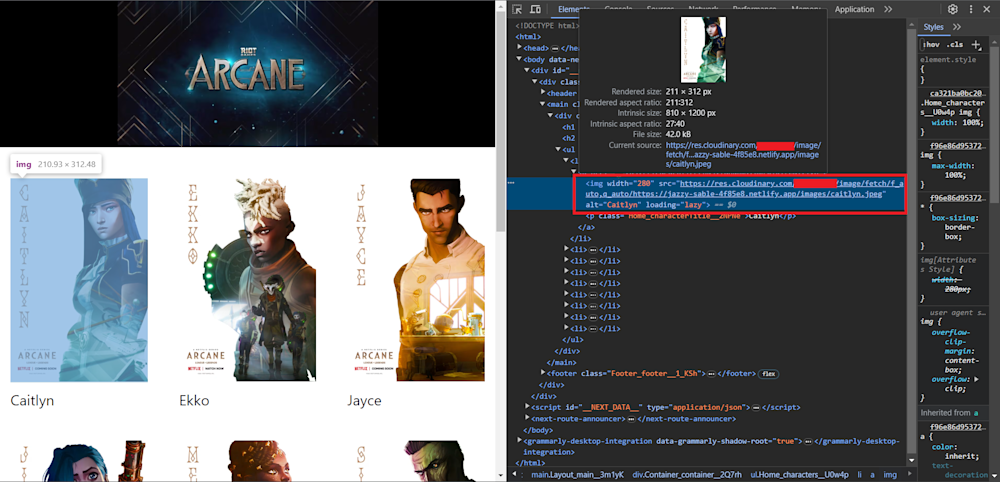
As you can see, the Netlify images on the website are served from Cloudinary, optimizing image formats to deliver the best images for the best user experience.
Final Thoughts
As we’ve explored, Netlify is a fantastic platform for developers seeking convenience, speed, and scalability when building and handling their websites. However, with Netlify’s built-in asset optimization no longer in the picture, developers and web admins need to find alternative ways to optimize their website’s images and assets. The importance of image optimization cannot be overstated – it has repercussions on various aspects of a website, from loading speed and SEO ranking to overall user experience and bandwidth cost.
By handling automatic format selection, responsive image generation, intelligent quality compression, lazy loading, and much more, Cloudinary has your back in making your images shine – regardless of Netlify’s recent changes. Seamlessly integrating with Netlify, Cloudinary will empower you to boost your website’s performance and user experience.
If you haven’t given Cloudinary a try yet, it’s time to discover how this powerful solution can complement your Netlify site and unlock the full potential of your digital assets.
;rgba(153,153,153,0.1);rgba(153,153,153,0.5)" dur="2s" repeatCount="indefinite" /></rect></svg>)